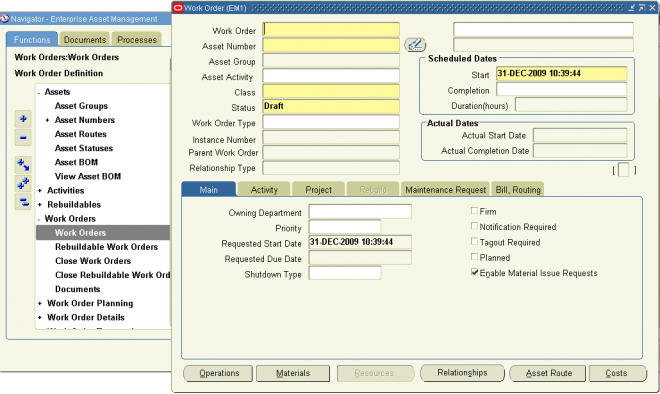
Enterprise Asset Management
Oracle Enterprise Asset Management (eAM) is a part of Oracle’s E-Business Suite, providing organizations with the tools to create and implement maintenance procedures for both assets and rebuildable inventory items. Maintenance procedures are an integral part of an organization’s complete asset lifecycle management strategy, enabling an organization to optimize asset utilization. eAM enables users to optimally plan and schedule maintenance activities with minimal disruption to an organization’s operations or production. Importantly, it improves resource efficiency, enhances maintenance quality, tracks work history, and records all maintenance costs.
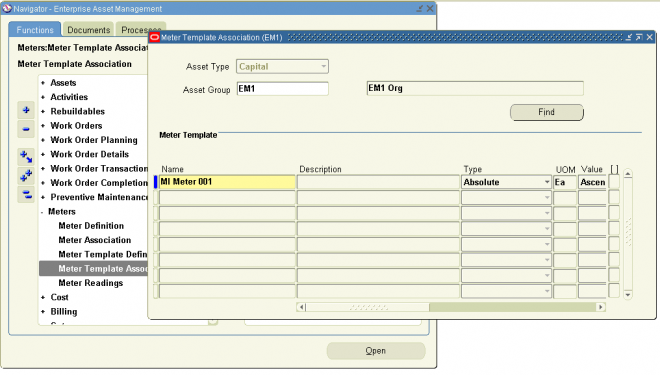
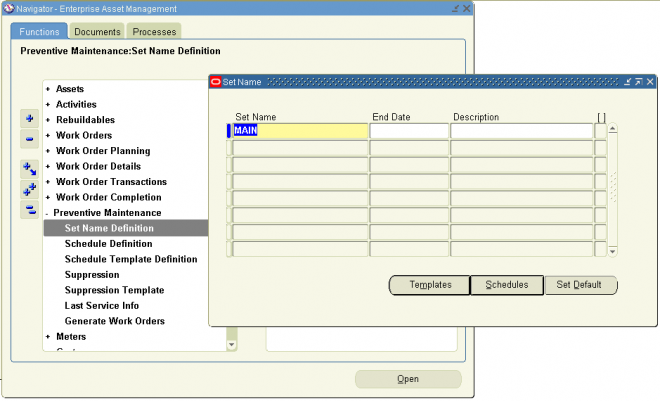
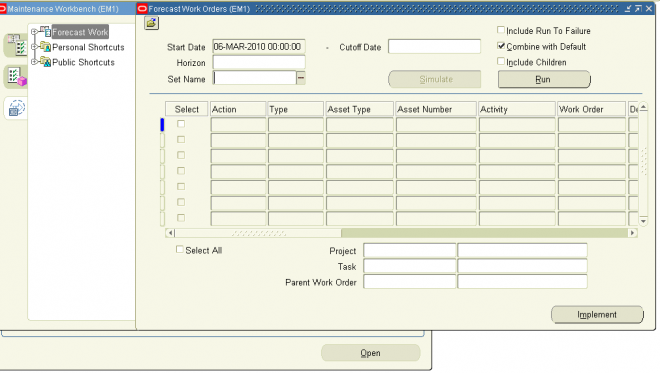
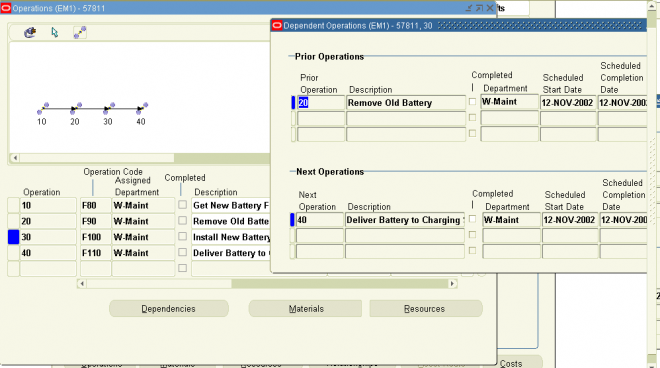
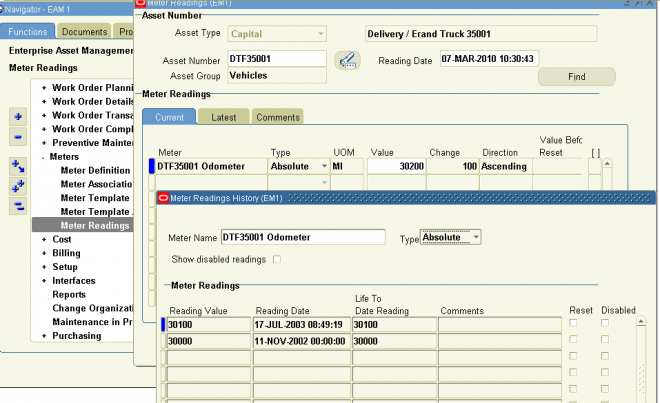
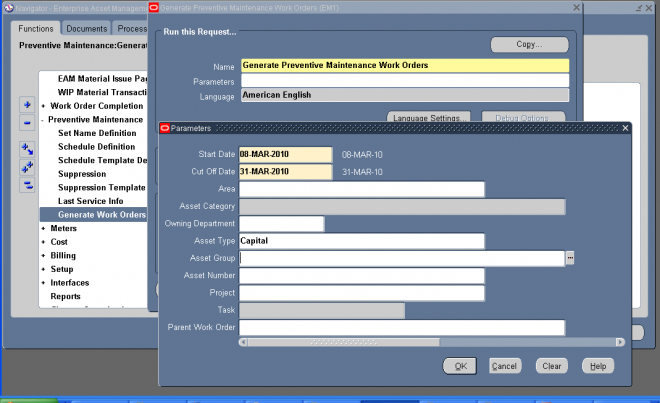
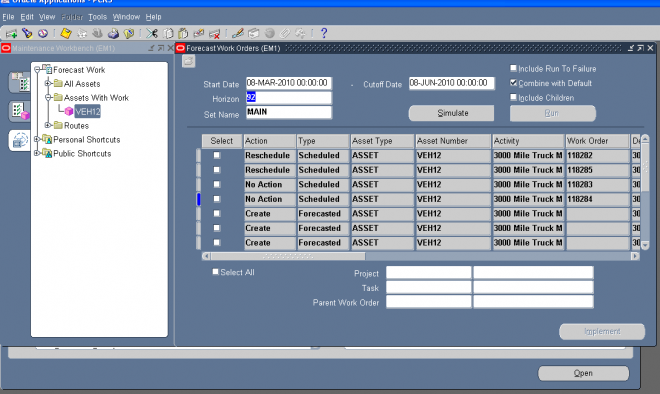
Oracle eAM tracks the performance of assets (including rebuildable, rotable inventory items) using meters, quality plans, and condition monitoring systems. By effectively monitoring an asset’s operating condition, effective preventive maintenance strategies can be implemented. In addition to creating preventive maintenance schedules, users can create alternative maintenance strategies for seasonal or production capacity changes.
eAM’s comprehensive maintenance functionality supports asset lifecycle strategies for asset intensive industries, including Metals/Mining, Manufacturing, Pulp/Paper, Petrochemicals, Facilities, and Education. eAM eliminates the need for spreadsheets and disparate data repositories, by enabling companies to manage reactive, planned, preventive maintenance, and adopt a centralized, proactive strategy for managing asset maintenance across an enterprise.
Integration with Other Oracle Application Products
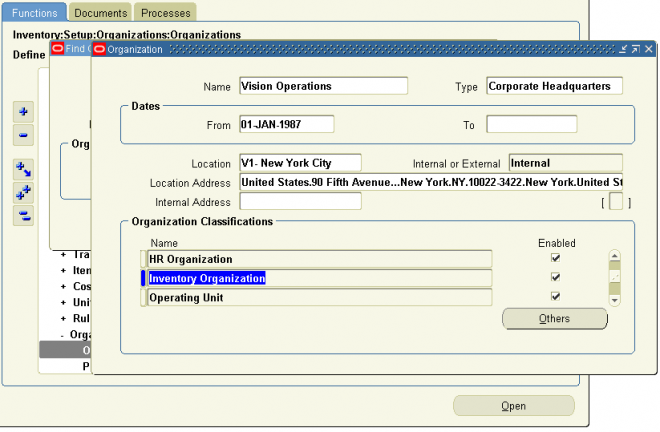
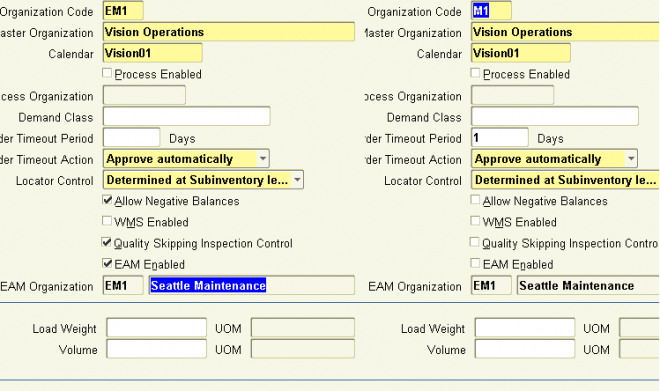
Oracle Enterprise Asset Management is part of the Oracle E-Business suite, and directly integrates with Oracle Inventory, Oracle Purchasing, Oracle Property Management, Oracle Quality, Oracle Human Resources, Oracle Financials, Oracle Fixed Assets, Oracle Manufacturing, and Oracle Projects. This enables you to strategically monitor resource and cost planning throughout the enterprise.
Improvement programs can be enforced and reviewed to ensure compliance with industry standards by tracking problems through to resolution.
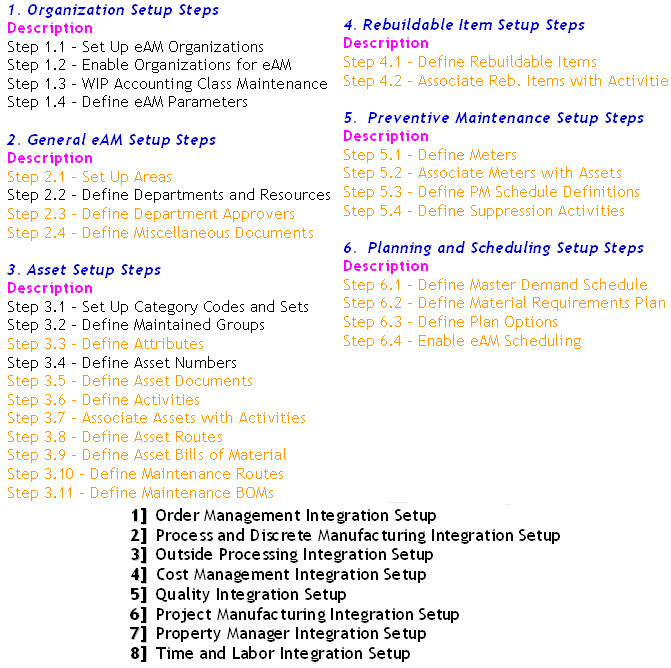
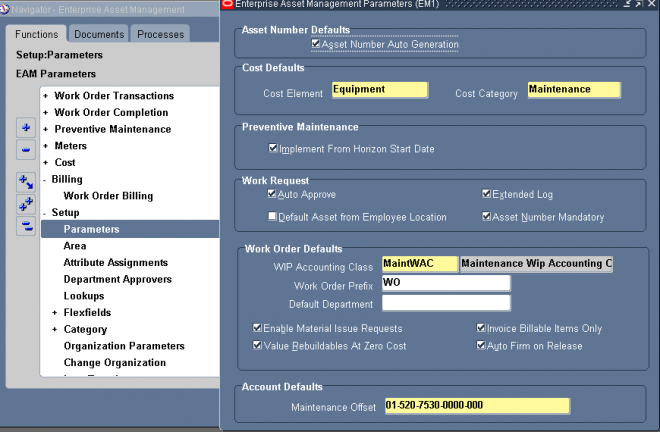
Required Products
Implementation of Enterprise Asset Management includes configuration of shared components from the following products:
■ Oracle Inventory
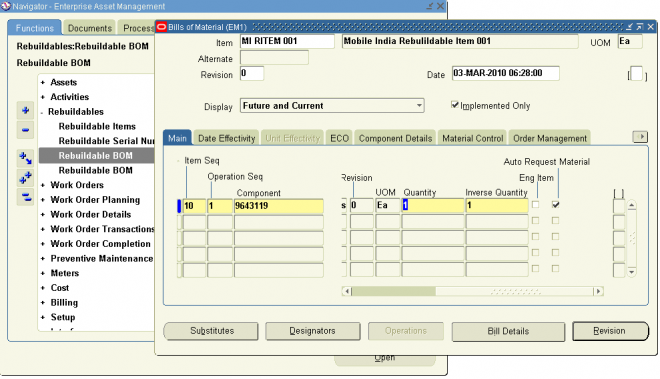
■ Oracle Bills of Material
■ Oracle Human Resources
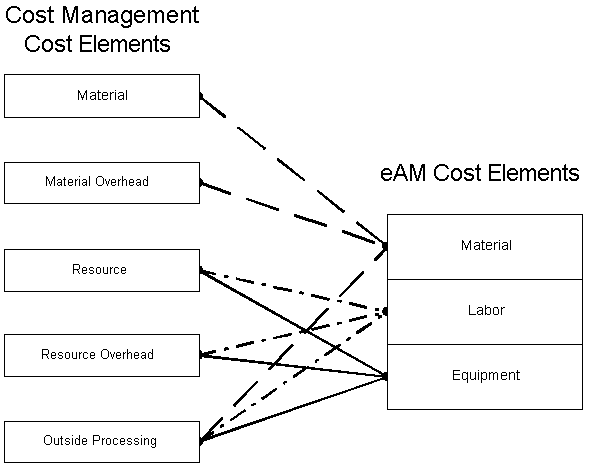
■ Oracle Cost Management
■ Oracle Manufacturing Scheduling
■ Oracle Quality
■ Oracle Work In Process